Managing cloud recordings
Overview
Recording management allows you to view, delete, and share your own cloud recordings.
Accessing recording management
- Sign in to your Zoom web portal.
- In the navigation menu, click Recordings.
You will see a list of cloud recordings that you started.
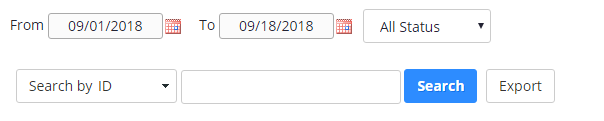
- Adjust the date range and status, then search by host, meeting ID, topic, or keyword.
Note: There is no limit on the date you can specify.
Viewing cloud recording settings
- Access recording management.
- Find the recording you want to view and click the topic.
Note: If your meeting has not finished converting, the recording will show in the list with a Processing Recording label. Once the recording has finished converting, you will be able to view, share, download or delete your cloud recording.
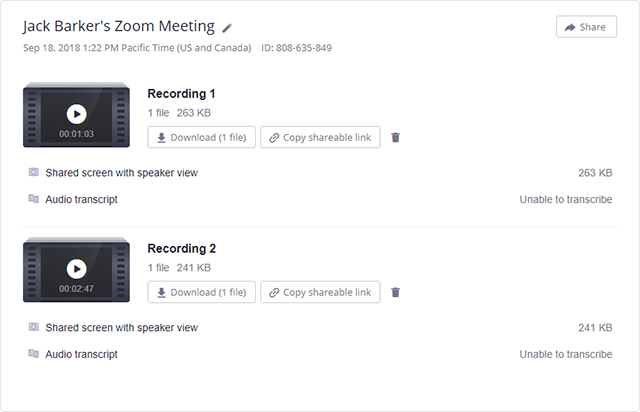
You will see the recording files and options:
File types
- Shared screen with speaker view: MP4 file with audio and video showing both active speaker view and shared content.
- Shared screen with gallery view: MP4 file with audio and video showing both gallery view and shared content.
- Active Speaker: MP4 file with audio and video showing the active speaker view only.
- Gallery View: MP4 file with audio and video showing the gallery view only.
- Shared Screen: MP4 file with audio and video showing the shared screen only.
- Audio only: M4A file with a recording of the audio.
- Audio transcript: VTT file with a transcript of the audio only.
- Chat file: Text file with the transcript of in-meeting chat.
Learn more about recording layouts.
Settings for recording
- Pencil icon
 : Allows you to rename the meeting topic.
- This recording will be deleted in __ days: If you enabled auto-deletion, this displays the number of days before the recording is deleted. You will receive an email notification 7 days before the recording is deleted.
- Recording Analytics: View metrics for the recording.
- Recording thumbnail: Play the video or audio file in your browser.
- Download: Downloads the recording file to your local computer.
Settings for sharing
Click Share to display the recording link information and sharing settings, such as disabling downloads from viewers and requiring a password to view.
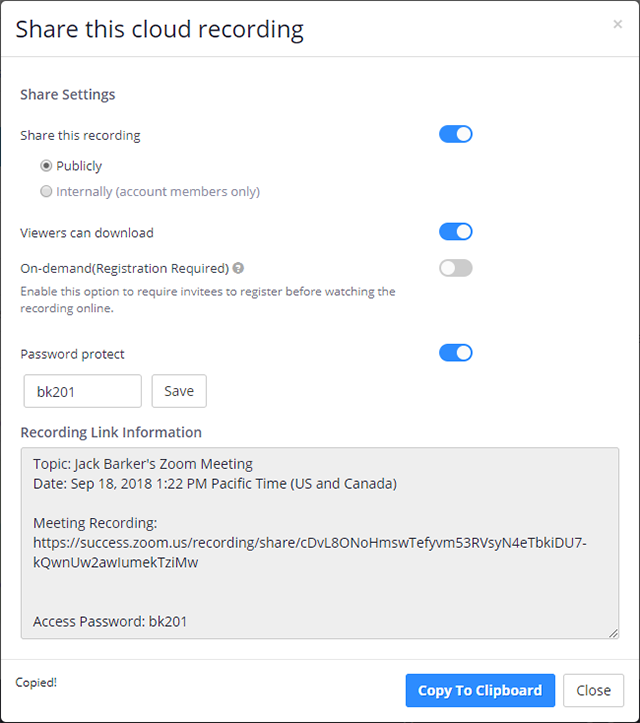
- Share this recording: Allows the recording to be shared publicly or internally. Switch the toggle off if you want the recording to be private. If you share the recording, Zoom will create a web page where visitors can view the cloud recording.
- Viewers can download: Allows viewers to download the video in addition to viewing it online.
- On-demand(Registration Required): Requires users to enter their name and email address before viewing or downloading the recording. The host will be able to download a report with this information.
- Password protect: Requires users to enter a password before viewing or downloading the recording. After toggling this to on, enter a custom password and click Save.
- Copy shareable link: Copies the link to your cloud recording. Share this link to allow others to view the cloud recording.
- Trash icon
 : Moves the file to your trash.
Recordings with screen share, chat, or audio transcript
If you recorded a meeting that contained screen sharing, you'll see an additional recording file called Shared screen with speaker view, which contains the screen share portion of your recorded meeting.
Click the link to play it. You can also hover over it to display for icons to download the file, copy the shareable link, or delete the file:

If your cloud recording has audio transcript or chat enabled, you'll also see the same icons for the transcript and chat files:


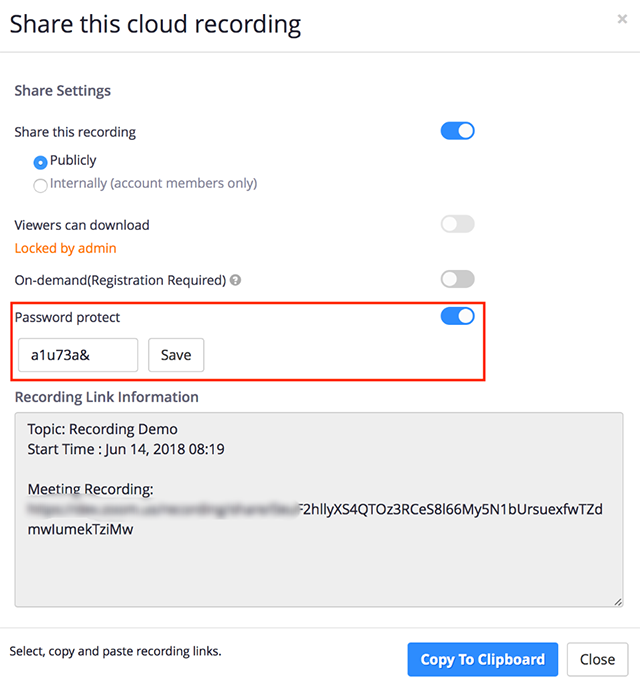
Protecting cloud recordings with a password
You can password protect the recording to limit who can download or view your cloud recording
- Access recording management.
- Click Share next to the recording you want to password protect.
- Enable Password protect by clicking the toggle.
- Enter the password you want to use and click Save.
Deleting cloud recordings
You can delete all cloud recordings on your account, all recordings in a specific search, all files for a meeting, or individual recording files. This will move the files to the trash and you can permanently delete them from the trash manually. If you don't permanently delete them manually, they will be deleted in 30 days.
Deleting all cloud recordings
Deleting all cloud recordings in a search
- Access recording management. Make sure to enter the desired date range and search criteria.
- Click Delete All.
You will need to confirm if you want to delete the recordings you searched for.
- Click Yes to confirm and move the recordings to the trash.
Deleting cloud recordings from a meeting
- Search for the meeting you would like to delete files from.
- Click Delete in the last column.
Deleting individual cloud recordings
- Search for the meeting you would like to delete a file from.
- Click the topic.
- Click the trash icon .
Viewing cloud recordings in the trash
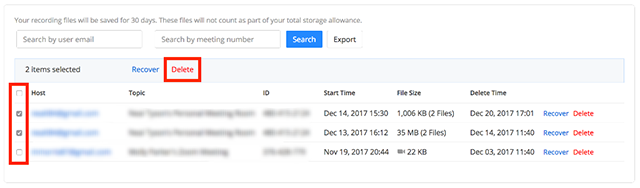
To view files in the trash, click Trash on the right side of the Recording Management page. Files in the trash don't count towards your cloud recording storage and will be permanently deleted in 30 days. If you do not have the Trash option, there are currently no files in your trash.

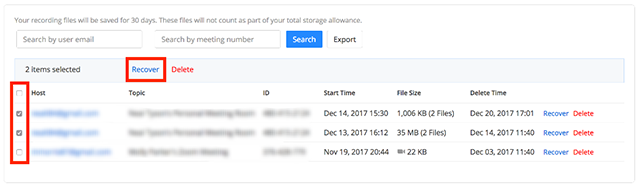
Recovering cloud recordings from the trash
Check one or more meetings and then click Recover at the top. Click Recover to the right of individual meetings to recover that meeting only.
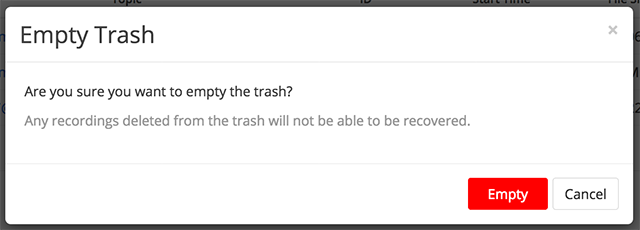
Permanently deleting cloud recordings
- Click Empty Trash located in the top-right corner.

- Click Empty to confirm that you want to permanently delete all files.
Permanently deleting cloud recordings for specific meetings
Check one or more meetings and then click Delete at the top. Click Delete to the right of individual meetings to delete that meeting only.